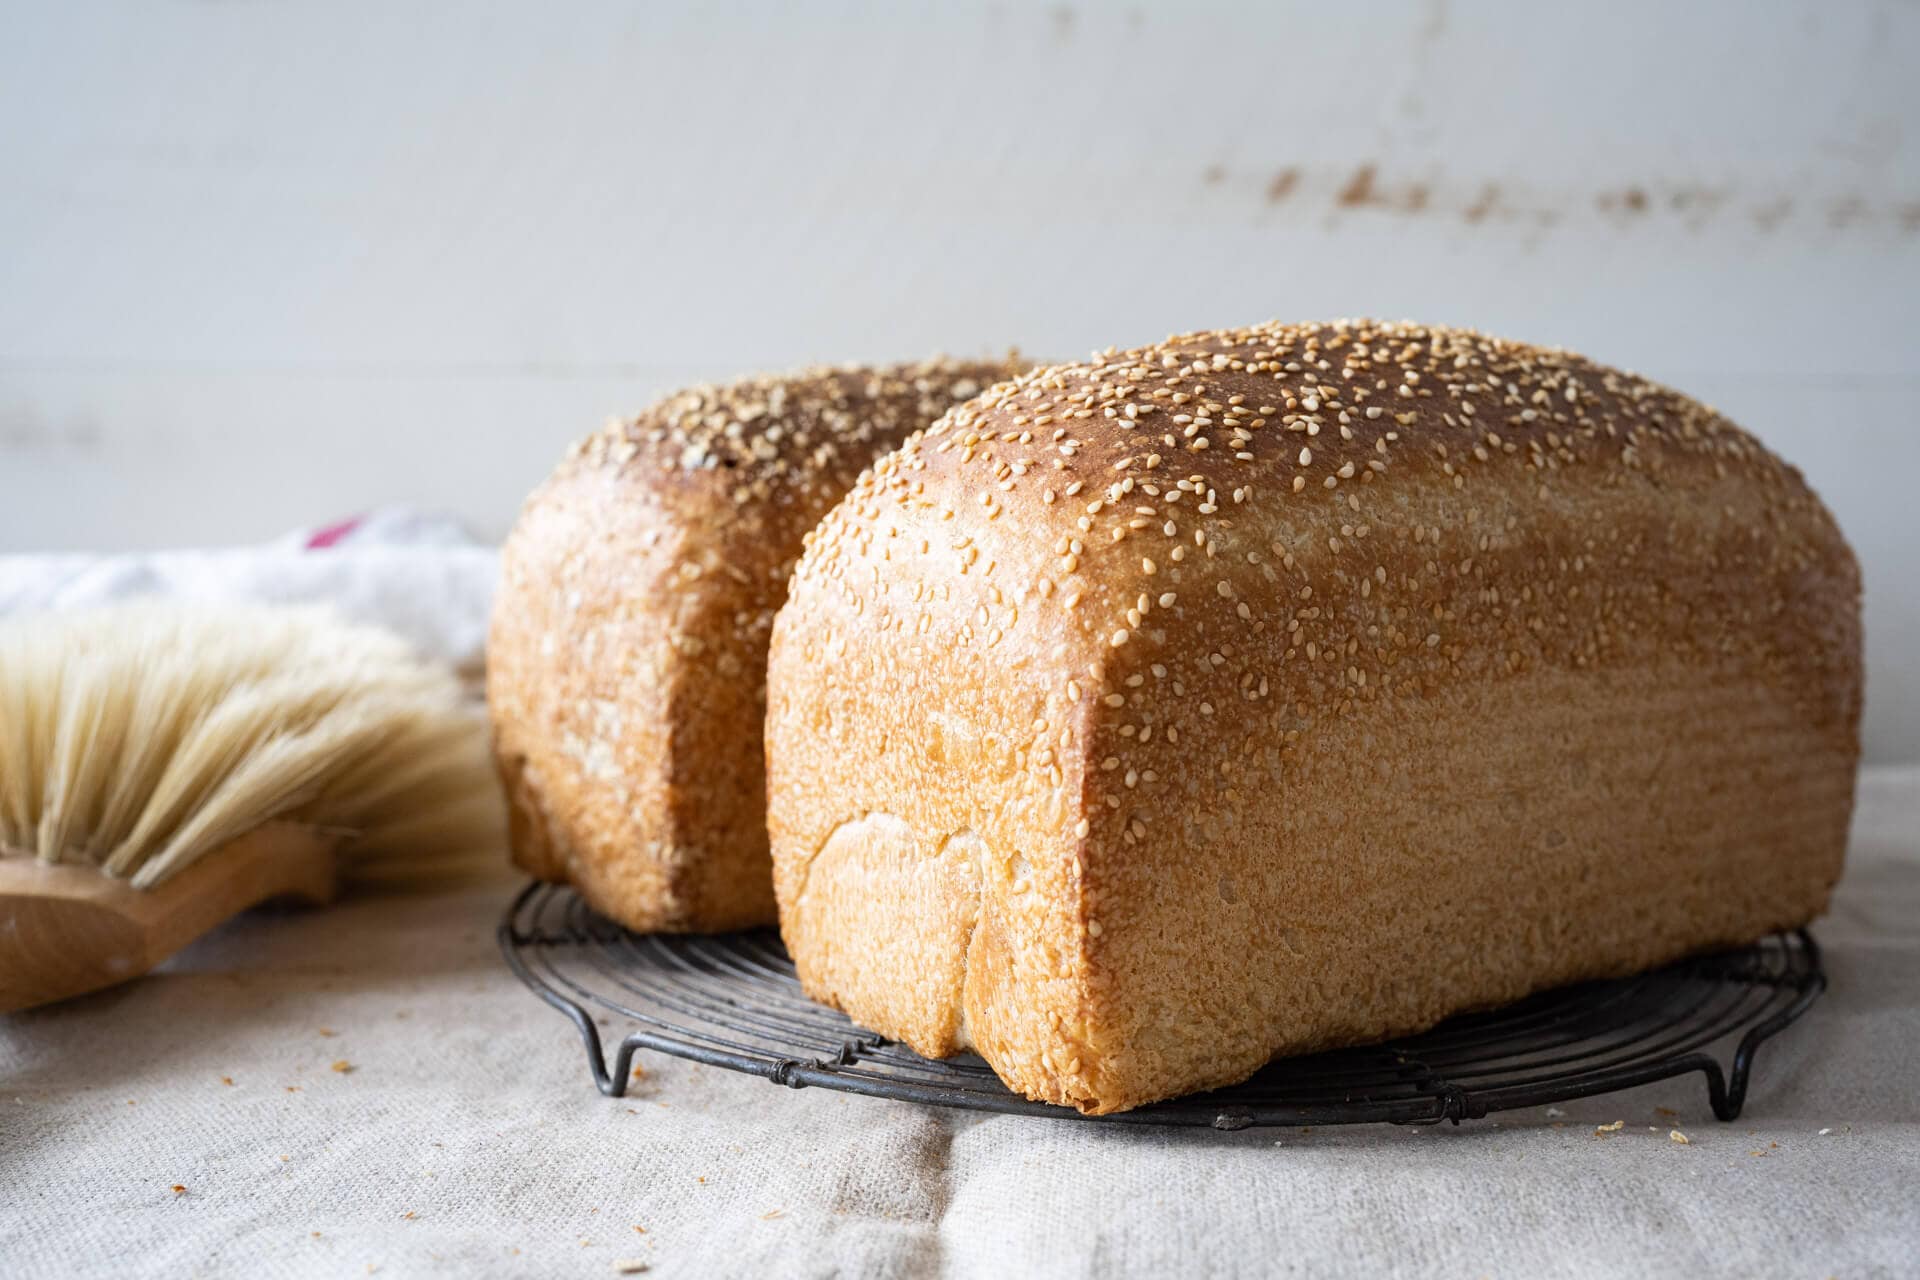
Sandwich Bread with Pre-Cooked Flour
Ingredients
72g Pre-cooked: Whole wheat flour (Giusto’s Whole Wheat Flour) 8.00%
290g Pre-cooked: Whole milk 32.00%
679g Medium-protein bread flour or All-purpose flour (~11% protein, Central Milling Artisan Baker’s Craft or King Arthur Baking All-Purpose) 75.00%
154g Whole wheat flour (Giusto’s Whole Wheat) 17.00%
63g Olive oil 7.00%
36g Honey 4.00%
480g Water 53.00%
16g Salt 1.80%
10g Sourdough starter 1.10%
Weight Ingredient Baker’s Percentage
100g Medium protein bread flour or all-purpose flour 100.00%
100g Water 100.00%
10g Ripe sourdough starter 10.00%
Weight Ingredient
72g Whole wheat flour
290g Whole milk
Weight Ingredient
362g Pre-cooked flour (see Pre-cook Flour, above)
579g Medium protein bread flour
154g Whole wheat flour
63g Olive oil
36g Honey
380g Water
16g Salt
209g Levain (see Prepare Levain, above)
Weight / Ingredient / Baker’s Percentage
Directions
To a medium saucepan, add the flour and milk listed above. Turn the heat to medium-low and cook, whisking continuously, until the mixture thickens and becomes like a paste, about 5-8 minutes. In the beginning, whisk vigorously to break up any flour clumps, and be diligent about this near the end to avoid burning. The mixture won’t seem to do anything until it reaches a critical heat point, be patient; it will thicken.
Once it transforms into a viscous paste (something like oatmeal porridge), remove the pan from the heat and spread the paste out on a small plate to expedite cooling. Set aside until called for when mixing.
I used my KitchenAid stand mixer to mix this dough, but it’s possible to make this bread without a stand mixer by mixing everything together by hand in a mixing bowl. To do this, you’ll need to mix for around 10-15 minutes, depending on your technique (slap and fold will work really well!).
Mixing water temperature note: I used cold water from the fridge to mix this dough, mostly because my pre-cooked flour was not fully cool by the time I needed to mix. Be sure to take the temperature of the pre-cooked flour and other ingredients into account to get close to the final dough temperature listed for this recipe.
To the bowl of a stand mixer fitted with the dough hook attachment, add the pre-cooked flour, flour, water, ripe levain, honey, olive oil, and salt. Mix on low speed for approximately 2 minutes until the ingredients come together, and no dry bits remain. Increase the mixer speed to medium (2 on a KitchenAid) and mix for 8-10 minutes until the dough starts to clump up around the dough hook. It won’t completely remove from the bottom of the bowl, and it will still be shaggy. See the image of my dough right after transferring to its bulk fermentation container.
Transfer your dough to a bulk fermentation container and cover.
Give this dough three sets of stretch and folds during bulk fermentation (first rise). For each set, wet your hands, grab one side and stretch it up and over the dough to the other side. Rotate the bowl 180° and perform another stretch and fold (this forms a long rectangle in the bowl). Then, rotate the bowl 90° and do another stretch and fold. Finally, rotate the bowl 180° and do one last stretch and fold. The dough should now be neatly folded up in the bowl.
After the third set, let the dough rest for the remainder of bulk fermentation.
Uncover your bulk fermentation container and gently scrape the dough out of the bowl onto a clean work surface. Using a bench knife, divide the dough directly in half and pre-shape each piece into a loose round. Let the rounds relax uncovered for 30 minutes.
First, lightly oil your Pullman pans with olive oil or another neutral oil. While this isn’t strictly necessary when using a USA Pan Pullman pan, it’s a little insurance just in case.
I shaped this dough in my typical method for shaping a pan loaf. Check out my guide to shaping pan loaves for detailed instruction.
Once the dough is shaped into a long tube, transfer each to their pan, seam-side-down. At this point, you can sprinkle on any toppings you’d like, I added white sesame seeds to one loaf, and instant oats to the other.
Cover the pans with a large, reusable plastic bag and seal shut. Let the dough proof at room temperature, around 72-74°F (22-23°C), for 2 hours.
Overnight proof option: before the 2 hour counter proof, cover the pans with bags and place them in your home refrigerator to proof overnight. Bake them the next morning as indicated below. Expect a slightly more sour flavor.
Check on your dough: it should have risen just below the top of the Pullman pan and be very light and airy to the touch (see above). If it’s not quite there, give it another 15 minutes and check again.
I steamed the oven for this bake as described on my post on baking with steam in a home oven.
Preheat your oven, with rack at the bottom third run and a pan with lava rocks on the bottom, to 400°F (205°C).
Once your oven is preheated, remove your proofed loaves from their bags and slide them into the oven. Carefully pour a cup of ice into the pan with lava rocks at the bottom of the oven and quickly close the oven door.
Bake at 400°F (205°C) for 20 minutes with steam. After this time, vent the oven, remove the steaming pan(s), and close the oven door. Bake for an additional 30-35 minutes until the top is well-colored and the internal temp is around 205°F (96°C). Remove the pans and gently knock out the loaves onto a wire rack. Return the loaves to the oven to bake for an additional 5 minutes without their pans to add extra color to the bottom and sides.
Let the loaves cool for 2 hours before slicing to ensure the interior is fully set. These will store incredibly well as described in my post on how to store bread.